Showing posts with label recycled. Show all posts

Thursday, 1 March 2012

TUTORIAL: Making wide leg trousers into straight leg

I've done this a lot lately for myself as my taste in fashion has changed slightly and i had been hoarding several pairs of wide leg linen pants and copious amounts of boyfriend fit jeans that even though i didnt wear i couldnt bring myself to get rid of them because of comfort or look so i thought hey i can do something with these.
The first few pairs i narrowed the leg by sewing down the outside seam because they where a low rise jean so fitted perfectly on the waist already i just didnt like the leg width.
Then i came to the high waist ones that didnt fit well at all! so i worked out a way of lowering the rise and narrowing the leg all at the same time.
Now i have about 10 pairs of 'new' jeans and trousers that i enjoying wearing and all for the a few hours of my time!
This tutorial will show and explain how to turn a pair of high waisted, wide leg trousers into a pair of low rise, straight leg trousers.

Tools:
A pair of high waisted and wide legged jeans or trousers ( i used a pair of navy blue linen trousers from dorothy perkins i picked up for £3 at a discount clothing store)
Co-ordinating thread or whatever colour you have, i always use white but if using matching thread if you need to hem them you wont see the stitches.
A sewing machine
Pins

Step 1: Turn the trousers inside out and try them on. Make mental notes of where you want the new crotch to sit and how narrow you now want them to be.


Step 2: Place your pins, whilst still wearing the trousers, in the places where you want to be stitching the new shape of your trousers. Make sure they feel comfortable and sitting down in fine for the rise etc.

Step 3: Take them off and lay them flat, making sure that the shape is identical on both sides and that the fabric is flat and there are no bumps etc for sewing.


Step 4: If you need to you can now turn them the right way round and check that on the right side everything looks fine. Its always best to double check everything at this stage, making sure both leg widths are the same etc.


Step 5: Turn them back the wrong way and now you can start sewing. I sew mine in one starting at the bottom of one leg and working my way round the bottom of the other following the pins. You can sew them however you feel comfiest.
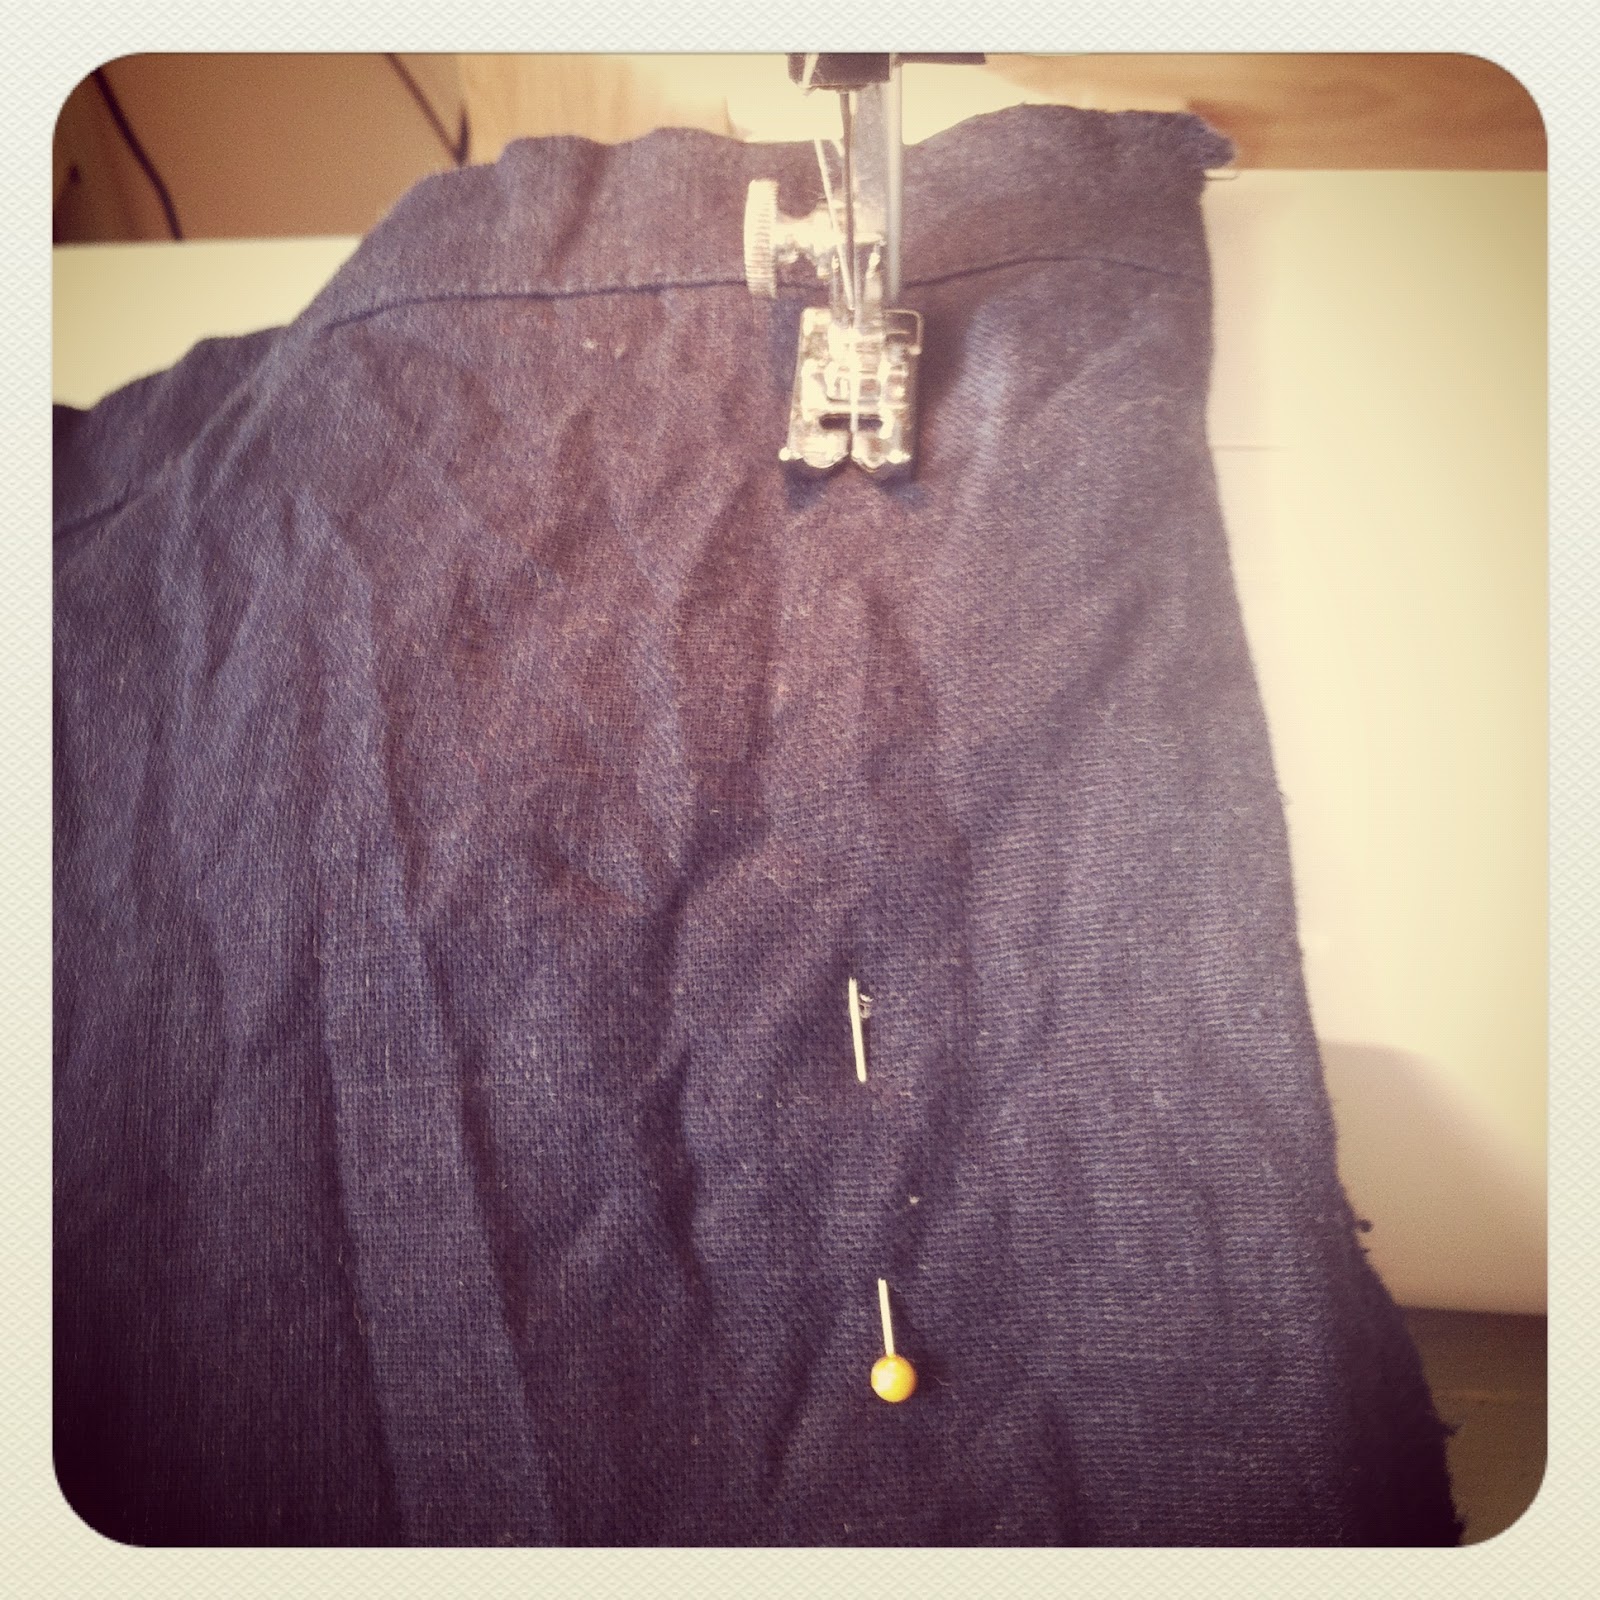
  
Step 6: Following the pins closely sew your new seam. Once you are finished, check that the sewing line is as straight as you are capable and that everything looks fine on the trousers, This would be the time to make any adjustment etc that you may need to do.


Step 7: If you are happy with your new seam then turn them the right way round and try them on! They will feel a little strange as they will be bulky inside the leg etc but this makes sure that the fit is good and everything is sewn how you want it.


Step 8: If you are happy with your new trousers then turn them back inside out and carefully cut away the excess fabric, making sure its as close to the seam as possible without snipping the seam. You can leave a good 2cm and zig zag the edges and press the seam out, if you where adjusting expensive or your favourite jeans/trousers i would recommend this to ensure there is no freying on the seam and when pressing they will look like they where made that way. I however havent bothered to do so, basically because im lazy!! (slaps my own wrists!) haha


Step 9: Turn back the right way round, try them on again and if your happy then iron as normal. And voila... Wide leg high wasited trousers into low rise straight leg trousers!


Good Luck with reinventing your wardrobe and dont be affraid to try things, they may not work but if you arent wearing them anyway then really you have nothing to loose!

Happy Stitching!!

L xx

Wednesday, 22 February 2012

TUTORIAL: DIY Vintage Necklace

We all like something a little different when it comes to jewellery so why not give this really easy Ribbon Necklace Tutorial a go and create your own one off piece...

Recycle Vintage chocker tutorial

Tools and equipment:

2 meters of 2cm wide satin ribbon
Ribbon ends with a hoop
Pliers
Cutters or another pair of pliers
Broken piece of vintage jewellery
(i used a large ornate bracelet that was missing some stones that i could get replacements for but any charm with side hoops will work)
2 jump rings and a matching clasp
A short piece of chain and a single bead or charm of your choice
1 head pin


1:  Cut your satin ribbon into two equal lengths and press so smooth out any kinks you may have. Mine was taken for an old item of clothing so needed ironing before use.

2:  I used my pliers and cutters to pry the smaller of the charm off the bracelet. You may simply just need to use the cutters or pliers to cut off or open a jump ring.

3:  Thread the ribbon around the open side bars and pull through so they are of equal lengths on both sides.

4:  Neaten the edges of the ribbon if required and pop the end caps on and close tight with your pliers and pull the ribbon to ensure it doesn't slip through, use super glue or hot glue gun to secure the ribbon in place if required.

5:  Attach your jump rings to either hook at the end of your ribbon and attach the clasp to one side.

6:  On the opposite side attach your short length of chain.

7:  Pop your head pin through your bead, if using a charm just attach a smaller jump ring to the top and attach to your chain,  hoop it round and attach to the stretch of chain.

8:  Fasten and wear with pride!!!

Monday, 20 February 2012

TUTORIAL : Dorothy Inspired Shoes

We all like a touch of glamour in our wardrobe and its even better when you can wear it everyday!! And this is possible for ANY kind of shoe so grab the glitter and an old pair of shoes, the comfier the better, and get creative!!

Dorothy inspired Up cycled Glitter shoes

As my nothing new for a year challenge restricted me on my epic date night with my hubby outfit i had to improvise… and quick!
Armed with a few quid, some charity shop found fabric and an old pair of white brogues i created a vintage inspired outfit to die for!!
However my shoes got talked about more than my dress!!
So heres a quick tutorial on how to up cycle yours or your little ones shoes to sparkle!!

An old pair of shoes/pumps/trainers/heels… WHATEVER!
Glitter colour of your choice, though do make sure you have a few tubs. I bought mine from the £1 shop.
Mod podge or pva glue. if you do use pva glue make sure you have some spray adhesive hanging about or you will leave a trial of glitter wherever you go!
A paint brush
Shoe laces, ribbon or tulle to match your glitter choice.
Masking tape

1: clean the shoes of any loose dirt and dry.

2: Remove the laces, you could dye them if you have some matching colour dye hanging around.

3: Place masking tape in any areas you don't want the glitter to cover, i just did around the soul but you could use stickers to leave a pattern or shape unglittered.

4: Now for the fun part!! Apply the glue of your choice, liberally all over the shoe or work in sections, whichever suits you.

5: Sprinkle your chosen glitter of choice all over the shoes making sure a lovely deep coverage.

6: Tap gently to remove any excess after a short drying time.

7: if your happy with the coverage leave over night to dry. if not wait to dry then apply another layer.

8: once the glue is fully dried use your ribbon etc as shoe laces, tie and wear with pride!!!

i used tulle as my laces as it was all i had on hand and i made them the night before we went out. i was however very happy with the look as it gives a really full bow and they where my birthday shoes!!