Sunday, 20 May 2012

Help Dora Help Returns for a Second Year

NICK JR. LAUNCHES HELP DORA HELP 2012
Second Year of Campaign is set to Award £20,000

London, 15th May, 2012 – Nick Jr., the award-winning pre-school channel from the Nickelodeon network, today announces the 2012 launch Help Dora Help, the campaign that brings exploration to life in nurseries and pre-schools across the UK.

The campaign, supported by The Prince’s Foundation for Children & the Arts consists of a free activity pack, giving nurseries and pre-schools educational activity resources. Nurseries will also have the opportunity to apply for an award of £20,000. The pack follows the Early Years Foundation Stage development goals and contains six activity session plans that provide stimulating learning opportunities with the theme of Dora the Explorer’s adventures. The themes for this year’s pack are: Cooking, Sports Day, Fairy Tales, Animals, Seaside and Music.

Registration is now open at nickjr.co.uk/helpdorahelp for nurseries to apply for a pack. They have until 22nd July to work through the activities with their pre-schoolers and put together their application for the £20,000 award.

Once this year’s applications have been submitted, an expert panel led by Nick Jr.’s Wake Up World Helena Dowling, alongside Nick Jr. representatives and partners including The Prince’s Foundation, Dora Magazine and Chad Valley will choose five finalists. The public will then be able to vote for their favourite application and decide who is awarded the £20,000.

Each of the five finalists will be awarded discovery and learning equipment from Chad as well as a classroom visit from Dora the Explorer and all five finalists’ award bids will be filmed and aired on Nick. Jr.

In 2011, Hope Nursery School in Belfast was selected. With the award the Nursery selected to build a play area featuring numerous play structures, a puppet theatre, garden, sand and water area.
Tina McCann, MD Nickelodeon UK, said: “The quality of applications in 2011’s Help Dora Help campaign were incredible. We’re delighted with the way the award has been used at Hope Nursery and equally excited to engage with pre-schoolers and practitioners across the country once more throughout 2012.”

Nurseries and pre-schools can apply for the free Help Dora Help Activity Pack and Award Fund at www.nickjr.co.uk.


Saturday, 19 May 2012

It's been a while

I can barely remember the last time i sat and wrote a blog post because i was either fired up about something or just because i wanted to.
Things have changed considerably of late, with taking the huge step of finally closing down La Chic Unique and concentrating more on what i need than everyone else i certainly feel more like i wanted to than i hoped i would.
Im no longer making or selling my wares, this has taken a huge pressure off me and given me more time to do things that should be important but never really are.
Just to sit with the girls and laugh about, well nothing really, has made me see that being successful as a person isnt the same as being successful as a mama. And to be honest id rather be a great mama than a great anything else.
Ive curbed my creative passion, ya know that itchy feeling inside that makes it so you cant sit still, by growing again. This has ticked two things off my current WANT list. Ive longed for the opportunity to be more self sufficiant and after the success we had last year with potatoes and peas i figured hell why not, i can so do this! We as a family agreed on some chickens to for fresh eggs so thats been a great experience and they havent even arrived yet! its been nice to discuss things more and taking more time to plan and purchase things has really made me drop a gear which i havent do in what feels like forever!
Our modest size garden is starting to look beautiful and will soon be inhabited with 2 chucks, we are currently "remodelling" our large shed into a play house for the girls which has really inspired my creative side so for once im getting to have it all so to speak.
We have spent a lot of time on the house recently too, when i say we i mean me, making it feel more like a home than a house and now i dont have to cringe every time someone visits! (yes i am secretly very house proud!)
Im enjoying just taking everything back to basics and just simply enjoying life. This is an aim for me, its bugged me for such a long time how my dad missed out on so much from being ill for such a long time. i still miss him, no less than i have for the last 3 years, but instead of feeling sad i wanna do all those things he never got round to or put off for a time when he didnt have to do other stuff.
This has really inspired me to be more inventive with cooking, saying no much less to the kids, accepting that compromise is the spice of life and putting things off isnt an option.
I even said to the hubby the other day, all im short of is a dog and a camper van and i wouldnt want anything else from life. No im not a millionaire, or have the perfect figure of have a "normal family" but im happy in my day to day life, no not happy, content. perfectly content with the decisions i made, the things i have and where im going. Content is nice, its like a spring sunny morning straight after its rained. All fresh and sparkly. I like it. It feels like a long time coming to be fair.
So my advice for you dear reader, would be to sit back, look at what youve got and if its worth keeping, simply enjoy it. Dont make it difficult because you can, dont make it hard because its easier and dont let things pass you by because they are scary.
Life is desceptively short, you may feel at 20 that you have an eternity to fill your life with all those hopes and dreams you have right now but hey.. why do you wanna wait til your 65 to do them when really you can do them right now.  Change jobs, ask the hot guy out, read that mountain of books, learn a new skill or craft, have a baby, have a dog/cat/goffer whatever! just do it instead of saying...' yeah i will next month when (insert crap excuse here) all it takes is setting say an hr a day aside to achieve that dream/hope/aspiration you have been harbouring for years and no its never to late!
So go, fill your life with simplicity, enjoyment and contentment, and most important of all... SMILE! (it doesnt only release chemicals that make you feel great but its free AND its contagious!!)

L xx

Thursday, 1 March 2012

TUTORIAL: Making wide leg trousers into straight leg

I've done this a lot lately for myself as my taste in fashion has changed slightly and i had been hoarding several pairs of wide leg linen pants and copious amounts of boyfriend fit jeans that even though i didnt wear i couldnt bring myself to get rid of them because of comfort or look so i thought hey i can do something with these.
The first few pairs i narrowed the leg by sewing down the outside seam because they where a low rise jean so fitted perfectly on the waist already i just didnt like the leg width.
Then i came to the high waist ones that didnt fit well at all! so i worked out a way of lowering the rise and narrowing the leg all at the same time.
Now i have about 10 pairs of 'new' jeans and trousers that i enjoying wearing and all for the a few hours of my time!
This tutorial will show and explain how to turn a pair of high waisted, wide leg trousers into a pair of low rise, straight leg trousers.

Tools:
A pair of high waisted and wide legged jeans or trousers ( i used a pair of navy blue linen trousers from dorothy perkins i picked up for £3 at a discount clothing store)
Co-ordinating thread or whatever colour you have, i always use white but if using matching thread if you need to hem them you wont see the stitches.
A sewing machine
Pins

Step 1: Turn the trousers inside out and try them on. Make mental notes of where you want the new crotch to sit and how narrow you now want them to be.


Step 2: Place your pins, whilst still wearing the trousers, in the places where you want to be stitching the new shape of your trousers. Make sure they feel comfortable and sitting down in fine for the rise etc.

Step 3: Take them off and lay them flat, making sure that the shape is identical on both sides and that the fabric is flat and there are no bumps etc for sewing.


Step 4: If you need to you can now turn them the right way round and check that on the right side everything looks fine. Its always best to double check everything at this stage, making sure both leg widths are the same etc.


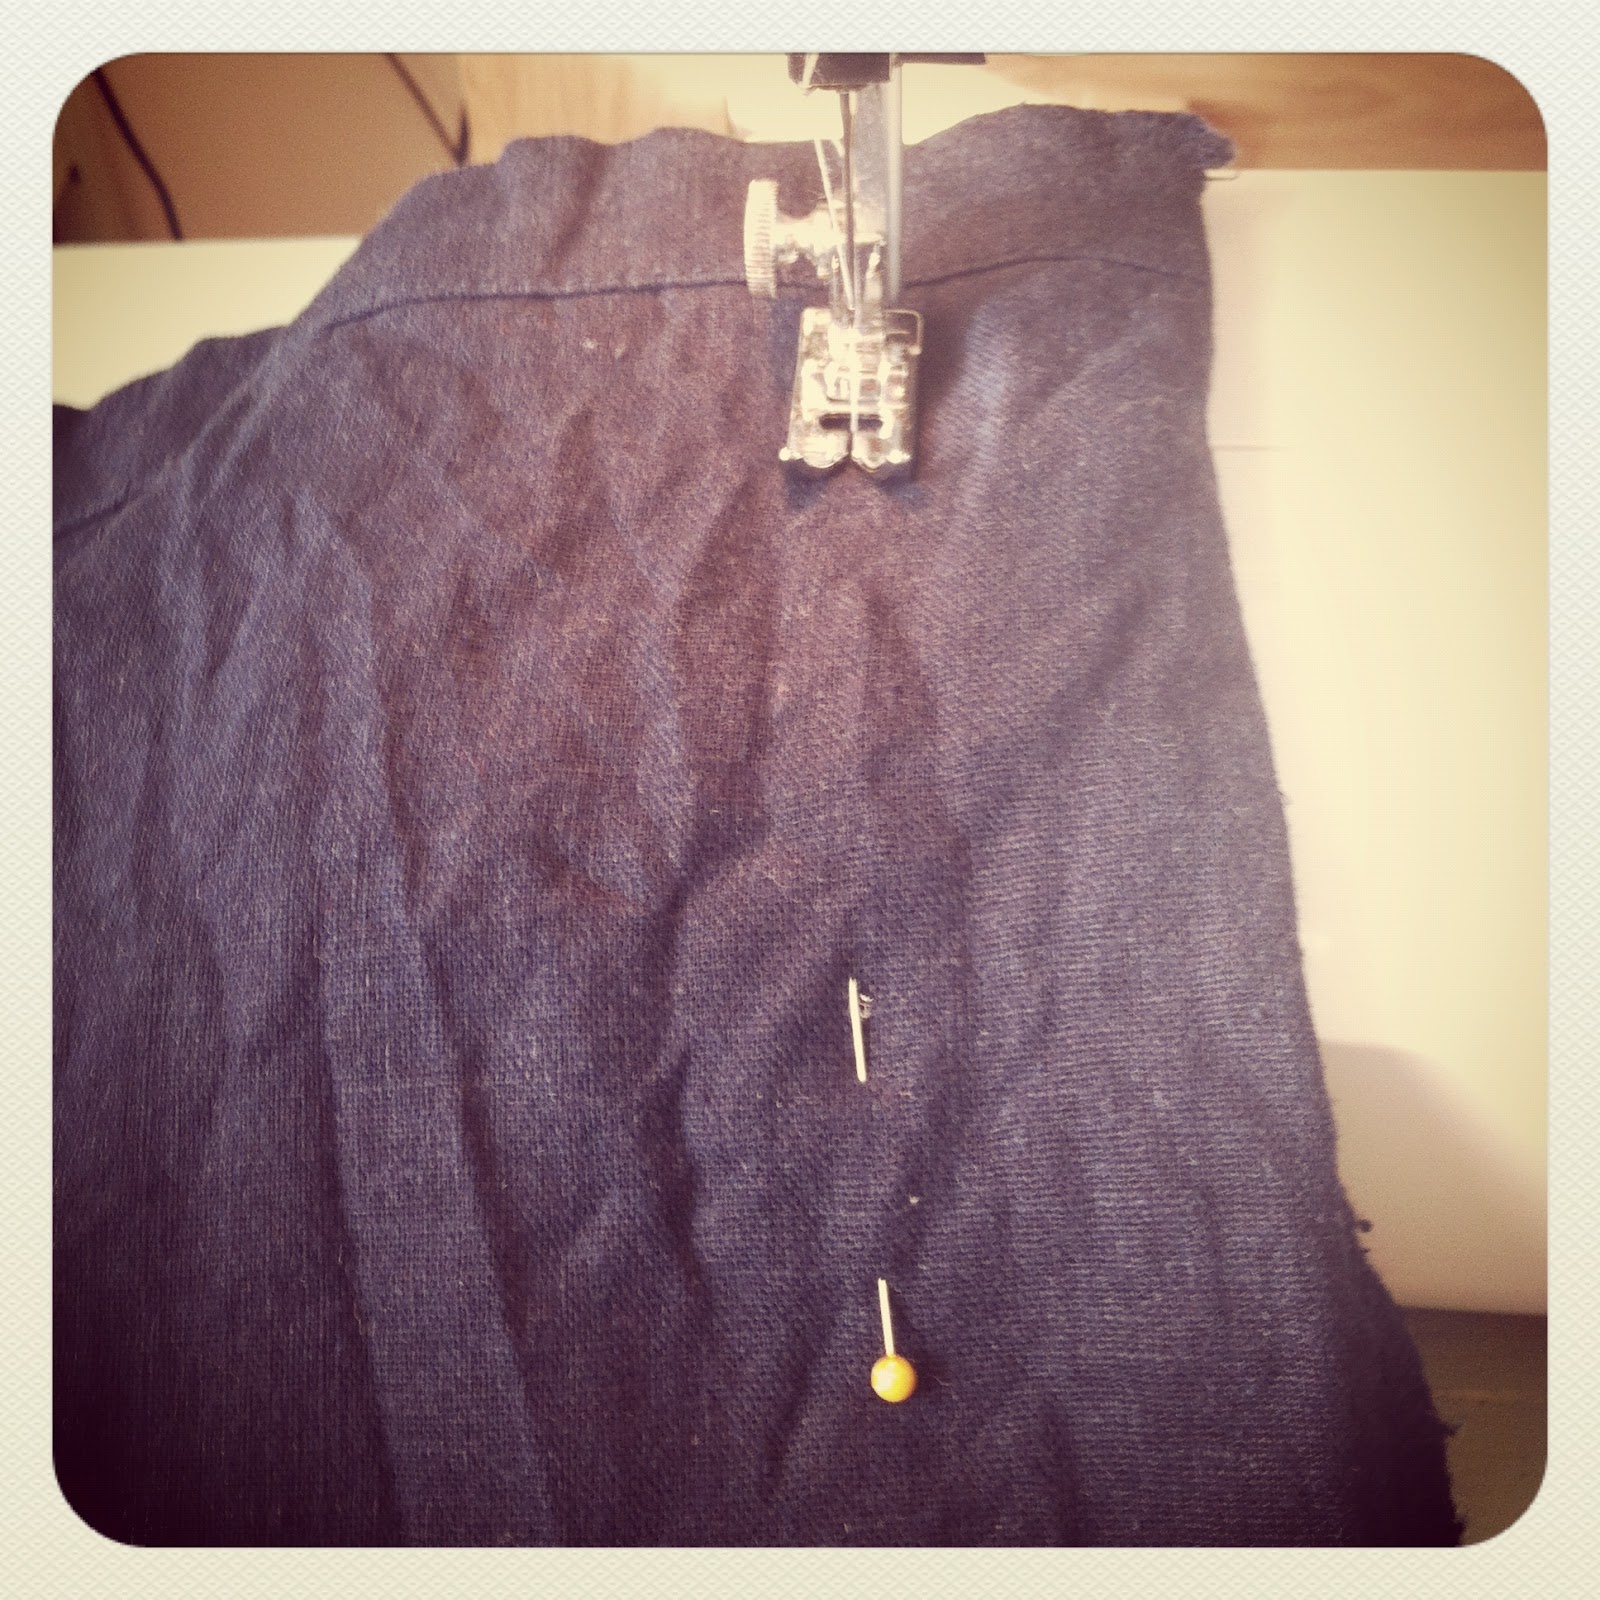
Step 5: Turn them back the wrong way and now you can start sewing. I sew mine in one starting at the bottom of one leg and working my way round the bottom of the other following the pins. You can sew them however you feel comfiest.

  
Step 6: Following the pins closely sew your new seam. Once you are finished, check that the sewing line is as straight as you are capable and that everything looks fine on the trousers, This would be the time to make any adjustment etc that you may need to do.


Step 7: If you are happy with your new seam then turn them the right way round and try them on! They will feel a little strange as they will be bulky inside the leg etc but this makes sure that the fit is good and everything is sewn how you want it.


Step 8: If you are happy with your new trousers then turn them back inside out and carefully cut away the excess fabric, making sure its as close to the seam as possible without snipping the seam. You can leave a good 2cm and zig zag the edges and press the seam out, if you where adjusting expensive or your favourite jeans/trousers i would recommend this to ensure there is no freying on the seam and when pressing they will look like they where made that way. I however havent bothered to do so, basically because im lazy!! (slaps my own wrists!) haha


Step 9: Turn back the right way round, try them on again and if your happy then iron as normal. And voila... Wide leg high wasited trousers into low rise straight leg trousers!


Good Luck with reinventing your wardrobe and dont be affraid to try things, they may not work but if you arent wearing them anyway then really you have nothing to loose!

Happy Stitching!!

L xx

Thursday, 23 February 2012

TUTORIAL: Lace covered Candle holders

Theres nothing like sitting by candle light but fancy holders are always expensive, however pretty they are!
This tutorial will show you how to create your own using items you have in your craft box or just around the house.

SUPPLIES:

Glass jar (large with a wide neck or a small one would work to perfectly)
Ribbon/lace/fabric
mod podge (or homemade which is just half pva glue and half water, and mix)
and a small paint brush

Step 1: Wash your glass jar making sure you remove all/any label that may be stuck to it.

Step 2: Dry thoroughly

Step 3: Measure your glass jar and cut your prefered fabric of choice to the right length, making sure the ends touch and only just over lap, or not at all if possible and this will give you a better finish.

Step 4: Coat your jar with the pva and water mixure.

Step 5:Carefully lay the fabric youve chosen (i chose a pale pink lace trim as i had plenty spare to make a few with and i have a huge thing for lace at the mo!) onto the pva/water mix and line it up with the bottom on the jar, pressing down and making sure its level all the way round


step 6: Cut another piece of your chosen fabric and repeat the process. I used the natural curve of the lace to match the pieces together for a unified look.


Step 7: Apply more strips until the glass is completely covered from top to bottom and you are happy with how it looks. Now cover entirely over the top with the pva/water mix to ensure every part of the fabric is covered, the fabric may shift slightly at this point so be careful not to twist or upset your design.

Step 8: Now leave to dry for a few hours then turn over, otherwise all the glue will run down to the end its stood on, this allows the glue to distribute evenly giving and smooth look at the end. Now leave over night to fully dry.

Step 9: Insert your tea light and enjoy!! (you could also use the wide church candles in a lovely wide jar)


I hope to see you all creating these beauties!! They would be great outside in the summer at BBQ's or for center pieces at weddings etc.

L x

Wednesday, 22 February 2012

TUTORIAL: DIY Vintage Necklace

We all like something a little different when it comes to jewellery so why not give this really easy Ribbon Necklace Tutorial a go and create your own one off piece...

Recycle Vintage chocker tutorial

Tools and equipment:

2 meters of 2cm wide satin ribbon
Ribbon ends with a hoop
Pliers
Cutters or another pair of pliers
Broken piece of vintage jewellery
(i used a large ornate bracelet that was missing some stones that i could get replacements for but any charm with side hoops will work)
2 jump rings and a matching clasp
A short piece of chain and a single bead or charm of your choice
1 head pin


1:  Cut your satin ribbon into two equal lengths and press so smooth out any kinks you may have. Mine was taken for an old item of clothing so needed ironing before use.

2:  I used my pliers and cutters to pry the smaller of the charm off the bracelet. You may simply just need to use the cutters or pliers to cut off or open a jump ring.

3:  Thread the ribbon around the open side bars and pull through so they are of equal lengths on both sides.

4:  Neaten the edges of the ribbon if required and pop the end caps on and close tight with your pliers and pull the ribbon to ensure it doesn't slip through, use super glue or hot glue gun to secure the ribbon in place if required.

5:  Attach your jump rings to either hook at the end of your ribbon and attach the clasp to one side.

6:  On the opposite side attach your short length of chain.

7:  Pop your head pin through your bead, if using a charm just attach a smaller jump ring to the top and attach to your chain,  hoop it round and attach to the stretch of chain.

8:  Fasten and wear with pride!!!

Monday, 20 February 2012

TUTORIAL : Dorothy Inspired Shoes

We all like a touch of glamour in our wardrobe and its even better when you can wear it everyday!! And this is possible for ANY kind of shoe so grab the glitter and an old pair of shoes, the comfier the better, and get creative!!

Dorothy inspired Up cycled Glitter shoes

As my nothing new for a year challenge restricted me on my epic date night with my hubby outfit i had to improvise… and quick!
Armed with a few quid, some charity shop found fabric and an old pair of white brogues i created a vintage inspired outfit to die for!!
However my shoes got talked about more than my dress!!
So heres a quick tutorial on how to up cycle yours or your little ones shoes to sparkle!!

An old pair of shoes/pumps/trainers/heels… WHATEVER!
Glitter colour of your choice, though do make sure you have a few tubs. I bought mine from the £1 shop.
Mod podge or pva glue. if you do use pva glue make sure you have some spray adhesive hanging about or you will leave a trial of glitter wherever you go!
A paint brush
Shoe laces, ribbon or tulle to match your glitter choice.
Masking tape

1: clean the shoes of any loose dirt and dry.

2: Remove the laces, you could dye them if you have some matching colour dye hanging around.

3: Place masking tape in any areas you don't want the glitter to cover, i just did around the soul but you could use stickers to leave a pattern or shape unglittered.

4: Now for the fun part!! Apply the glue of your choice, liberally all over the shoe or work in sections, whichever suits you.

5: Sprinkle your chosen glitter of choice all over the shoes making sure a lovely deep coverage.

6: Tap gently to remove any excess after a short drying time.

7: if your happy with the coverage leave over night to dry. if not wait to dry then apply another layer.

8: once the glue is fully dried use your ribbon etc as shoe laces, tie and wear with pride!!!

i used tulle as my laces as it was all i had on hand and i made them the night before we went out. i was however very happy with the look as it gives a really full bow and they where my birthday shoes!!

Thursday, 16 February 2012

u.ni.k Gifts - A What, Why, Who and When

 We are all on the look out for unique gifts, especially when we hear there is a new baby on the way or those all important first birthdays come whizzing around.
Even more so now in the current economic climate we choose to spend our money more wisely on gifts that will last, and are utterly gorgeous!
well look no further than Sarah and Anna at u.ni.k gifts, i caught up with them for a chat about why they run this particular business..


Who are you?
Well there's an 'About Us' section on our website that tells you exactly who we are, but in short - we're two Mums that have started a business while doing all the other superhuman things that are expected of first time Mums. We are two ordinary people, from ordinary backgrounds (OK so Sarah's background is a little mixed up having grown up in Germany but apart from that she's…oh OK so Anna's from a normal background anyway), who have never owned or started a business before that decided to take on all these things while being first time Mums.

Like all good stories ours started over a cup of tea (Anna) / coffee (Sarah) and like all good heroines - we're both a little crazy.

 Anna
 Sarah

What do you do?
We promote and sell heirloom baby and children's gifts on our website http://www.unikgifts.co.uk. We have searched all over the world to bring a treasury of wonderful gifts together. Our gifts are usually handmade and one of a kind, and unlike mass produced toys are designed to last years of use. This means that a u-ni-k gift can be played with by your little one, your little one's little one and so on. We hope that most of our toys are played with by children and grandchildren alike.

What are your favourite products that you stock?

Textile
Sarah - If you'd asked me this last year my answer would have been quick and easy - our Red Shuktara blanket!! However, we now have the lovely Susan from FatHenandFlo making memory quilts for us and so my answer is now our FatHenandFlo memory quilt. Kathryn's quilt is made up from a selection of my old maternity clothes, her first baby clothes and a selection of pieces that her Granny and Nana gave her. It's soft and cuddly and full of memories already.


Anna – I am also a avid Shuktara fan...who isn't! We are expecting a new delivery any day! I am very excited! However, at the moment I LOVE the Annafie liberty print dresses. I have a picture of Ida wearing hers at a family function while playing with her Grandma’s blusher brush. I love the picture and adore the dress. Such a treasured moment. When the dress becomes too small I’ll wrap it up with a copy of the photo, put it in her treasure box and save it till she is a Mum and my granddaughter can wear it.


Artwork
Sarah - The Victoria Plum pictures. I was lucky enough to find Colin Petty selling the last remaining Victoria Plum original sketches for one of her books and was able to persuade him to sell them through u-ni-k. These wonderful pictures don't photograph very well, but in real life their colours are amazing and bring back memories of long summers playing in the woods.

Anna – I am actually very fond of Freddie bunny that Sarah penned with her own hands. He is a very handsome bunny that would be beautiful on any nursery wall. Sarah has captured his little spirit perfectly. A little on the greedy side and happy to munch through anyone’s vege patch.  A very naughty bunny! Both Sarah and I are mad about bunny rabbit’s


Woodwork
Sarah - We have one of the horse coatracks. It's up in the hallway at a height that Kathryn can reach. It's really pretty and looks like something out of a magazine with her little coats hung on it and tiny wellies kicked off underneath them.

Anna – This is easy. By far the new rainbow makers. I love the way Ida’s catches the light during the late afternoon sunshine. The colours dancing on the walls astound and encourage her to play with the shapes and colours they create. She chases, pats and tries to catch them as they dance on her walls. They amaze her until the sun goes in. Sam’s rainbow maker catches the light during the morning sunshine. He is happily entertained, dancing with his hands, with the pretty colours streaming through the curtains, meaning that he lets us get a little lie in! On sunny days anyway!


Ceramic / Silverware
Sarah - Mine has to be the silver fingerprint charm. I spent some time trying to extract a fingerprint out of a 6m old squiggly baby… and I'm now the proud owner of a lovely charm with a very small indent and fingerprint on it.

Anna – I ordered “the naughty” a hand thrown and hand painted porcelain Breakfast set for her birthday. It consists of two bowls in two different shapes, and a beaker for juice. Each has an images of Ida and her favourite companion Mr Elephant on. I hope she will treasure it as much as I do. The cup is my favourite with a naughty Mr Elephant sitting happily on it! The set is something she can keep for ever and pass down to her children. *Photo available once the item is available for sale*

A massive thank you to the girls for sharing with us their favourite, currently anyway, pieces available on their fabulous website.

You can while away your hours here u.ni.k gifts
Alternativly email Anna direct anna@unikgifts.co.uk