
The first few pairs i narrowed the leg by sewing down the outside seam because they where a low rise jean so fitted perfectly on the waist already i just didnt like the leg width.
Then i came to the high waist ones that didnt fit well at all! so i worked out a way of lowering the rise and narrowing the leg all at the same time.
Now i have about 10 pairs of 'new' jeans and trousers that i enjoying wearing and all for the a few hours of my time!
This tutorial will show and explain how to turn a pair of high waisted, wide leg trousers into a pair of low rise, straight leg trousers.
Tools:
A pair of high waisted and wide legged jeans or trousers ( i used a pair of navy blue linen trousers from dorothy perkins i picked up for £3 at a discount clothing store)
Co-ordinating thread or whatever colour you have, i always use white but if using matching thread if you need to hem them you wont see the stitches.
A sewing machine
Pins
Step 1: Turn the trousers inside out and try them on. Make mental notes of where you want the new crotch to sit and how narrow you now want them to be.
Step 2: Place your pins, whilst still wearing the trousers, in the places where you want to be stitching the new shape of your trousers. Make sure they feel comfortable and sitting down in fine for the rise etc.
Step 3: Take them off and lay them flat, making sure that the shape is identical on both sides and that the fabric is flat and there are no bumps etc for sewing.

Step 4: If you need to you can now turn them the right way round and check that on the right side everything looks fine. Its always best to double check everything at this stage, making sure both leg widths are the same etc.

Step 5: Turn them back the wrong way and now you can start sewing. I sew mine in one starting at the bottom of one leg and working my way round the bottom of the other following the pins. You can sew them however you feel comfiest.
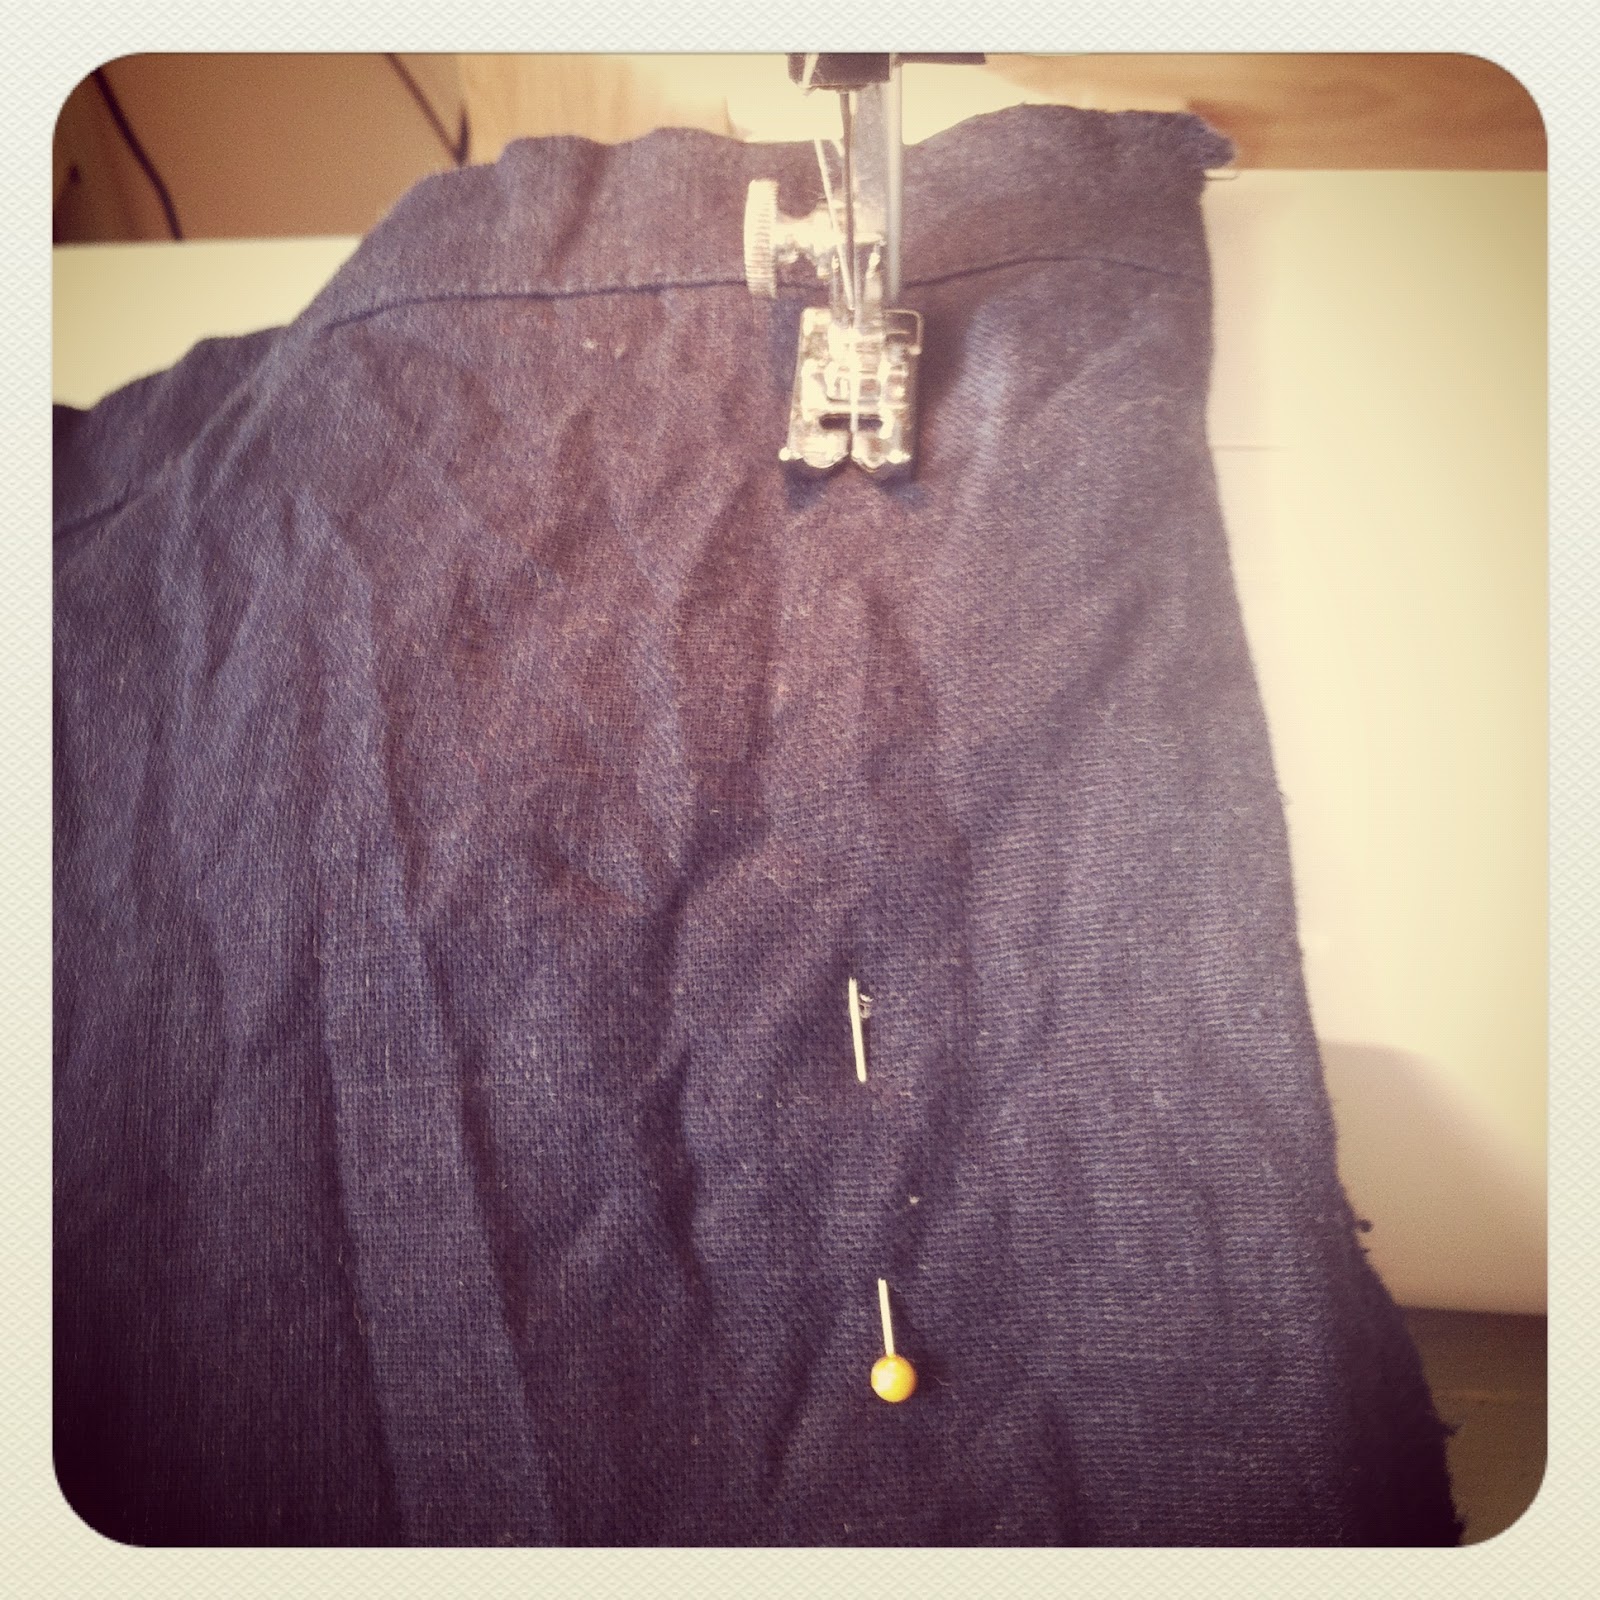
Step 6: Following the pins closely sew your new seam. Once you are finished, check that the sewing line is as straight as you are capable and that everything looks fine on the trousers, This would be the time to make any adjustment etc that you may need to do.

Step 7: If you are happy with your new seam then turn them the right way round and try them on! They will feel a little strange as they will be bulky inside the leg etc but this makes sure that the fit is good and everything is sewn how you want it.

Step 8: If you are happy with your new trousers then turn them back inside out and carefully cut away the excess fabric, making sure its as close to the seam as possible without snipping the seam. You can leave a good 2cm and zig zag the edges and press the seam out, if you where adjusting expensive or your favourite jeans/trousers i would recommend this to ensure there is no freying on the seam and when pressing they will look like they where made that way. I however havent bothered to do so, basically because im lazy!! (slaps my own wrists!) haha

Step 9: Turn back the right way round, try them on again and if your happy then iron as normal. And voila... Wide leg high wasited trousers into low rise straight leg trousers!

Good Luck with reinventing your wardrobe and dont be affraid to try things, they may not work but if you arent wearing them anyway then really you have nothing to loose!
Happy Stitching!!
L xx